How to Make a Burlap Wreath
An easy step-by-step tutorial on How to Make a Burlap Wreath for beginners. This simple DIY adds charm to your home decor. The finished wreath looks incredible inside or outside your house year-round!
You can also learn How to Make a Boxwood Wreath!

How to Make a Burlap Wreath in 3 Easy Steps
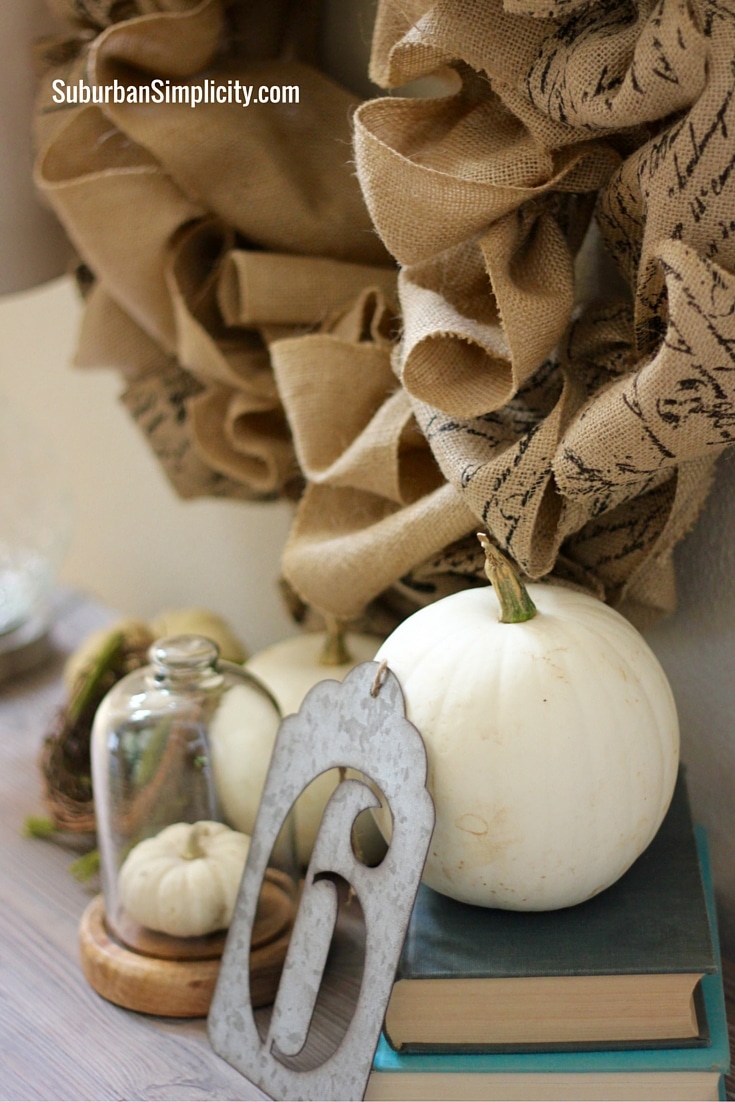
This adorable fluffy burlap wreath is easy to make and looks expensive, but it’s not!
It’s the perfect decoration for your home interior, or it also makes a welcoming adornment for your front door. Follow along as we walk you through the easy steps to making one yourself.
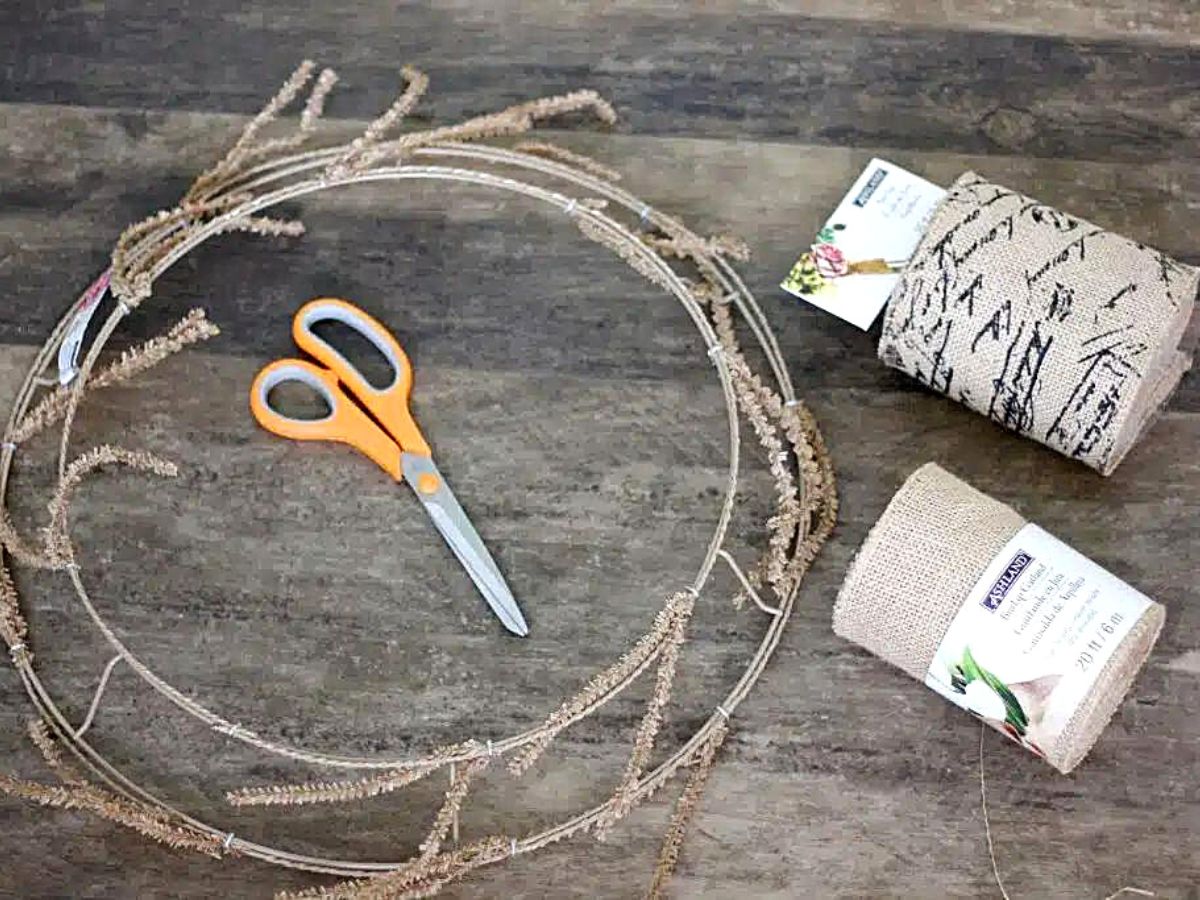
The Materials You’ll Need
Make a trip to your local craft store or order the following items online:
- 12″ Wire Wreath Form – Tan (with twist ties)
- Burlap Garland (we ended up using two 20′ plain rolls and one 20′ printed roll that is 6″ across)
- Scissors
- Leaves and flowers to decorate (optional; you’ll need a glue gun to do this)
If you can’t find a wire wreath form with twist ties already attached, you can cut pipe cleaners into 6″ pieces to tie the burlap ribbon on.
Tip: You can use any type of burlap ribbon. They come in different colors and can be embellished with lace, gold, silver, and more.
Think of the occasion or setting where your wreath will be displayed. Choose colors that will compliment your home decor.
Related: How to Decorate Your Home for Fall on a Budget
You can find items at Michael’s craft store.
Step 1:
This method produces a casual, floppy ribbon look.
Start your wreath by attaching the end of your plain burlap to the outer layer of the wreath form with a twist-tie stem. You will use the twist ties to secure the burlap to the wreath as you go along.
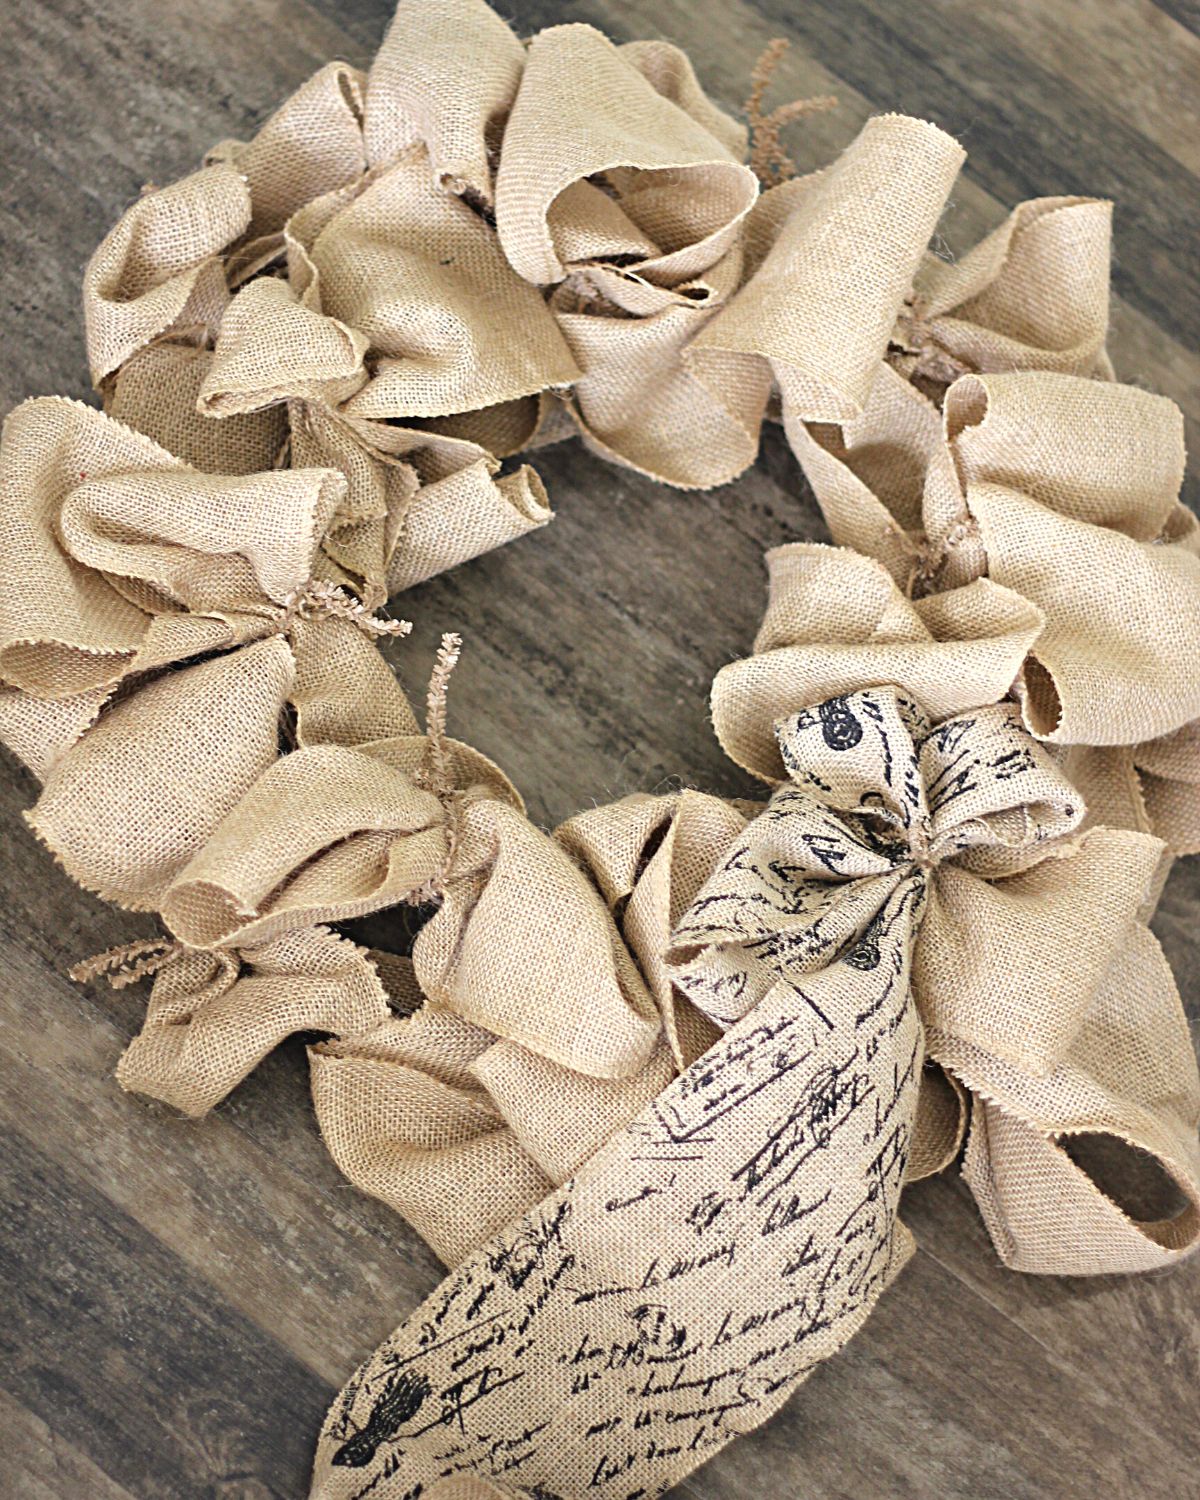
Step 2:
Now, make a large two-loop bow with your burlap. Lay the bow over the next wire stem on the wreath form and twist the tie to hold it in place.
Note: You will use about 20″ of burlap to make a large two-loop bow.
Next, pull the burlap along the outer wire rim of the wreath form (so you hide the wire) until you reach the next wire stem.
Lay the bow over the wire stem and twist the tie to hold it in place.
Repeat this pattern until you have gone around the entire outside of the wreath and inside of the wreath form. We used one roll of plain burlap garland for the inside and one for the outside.
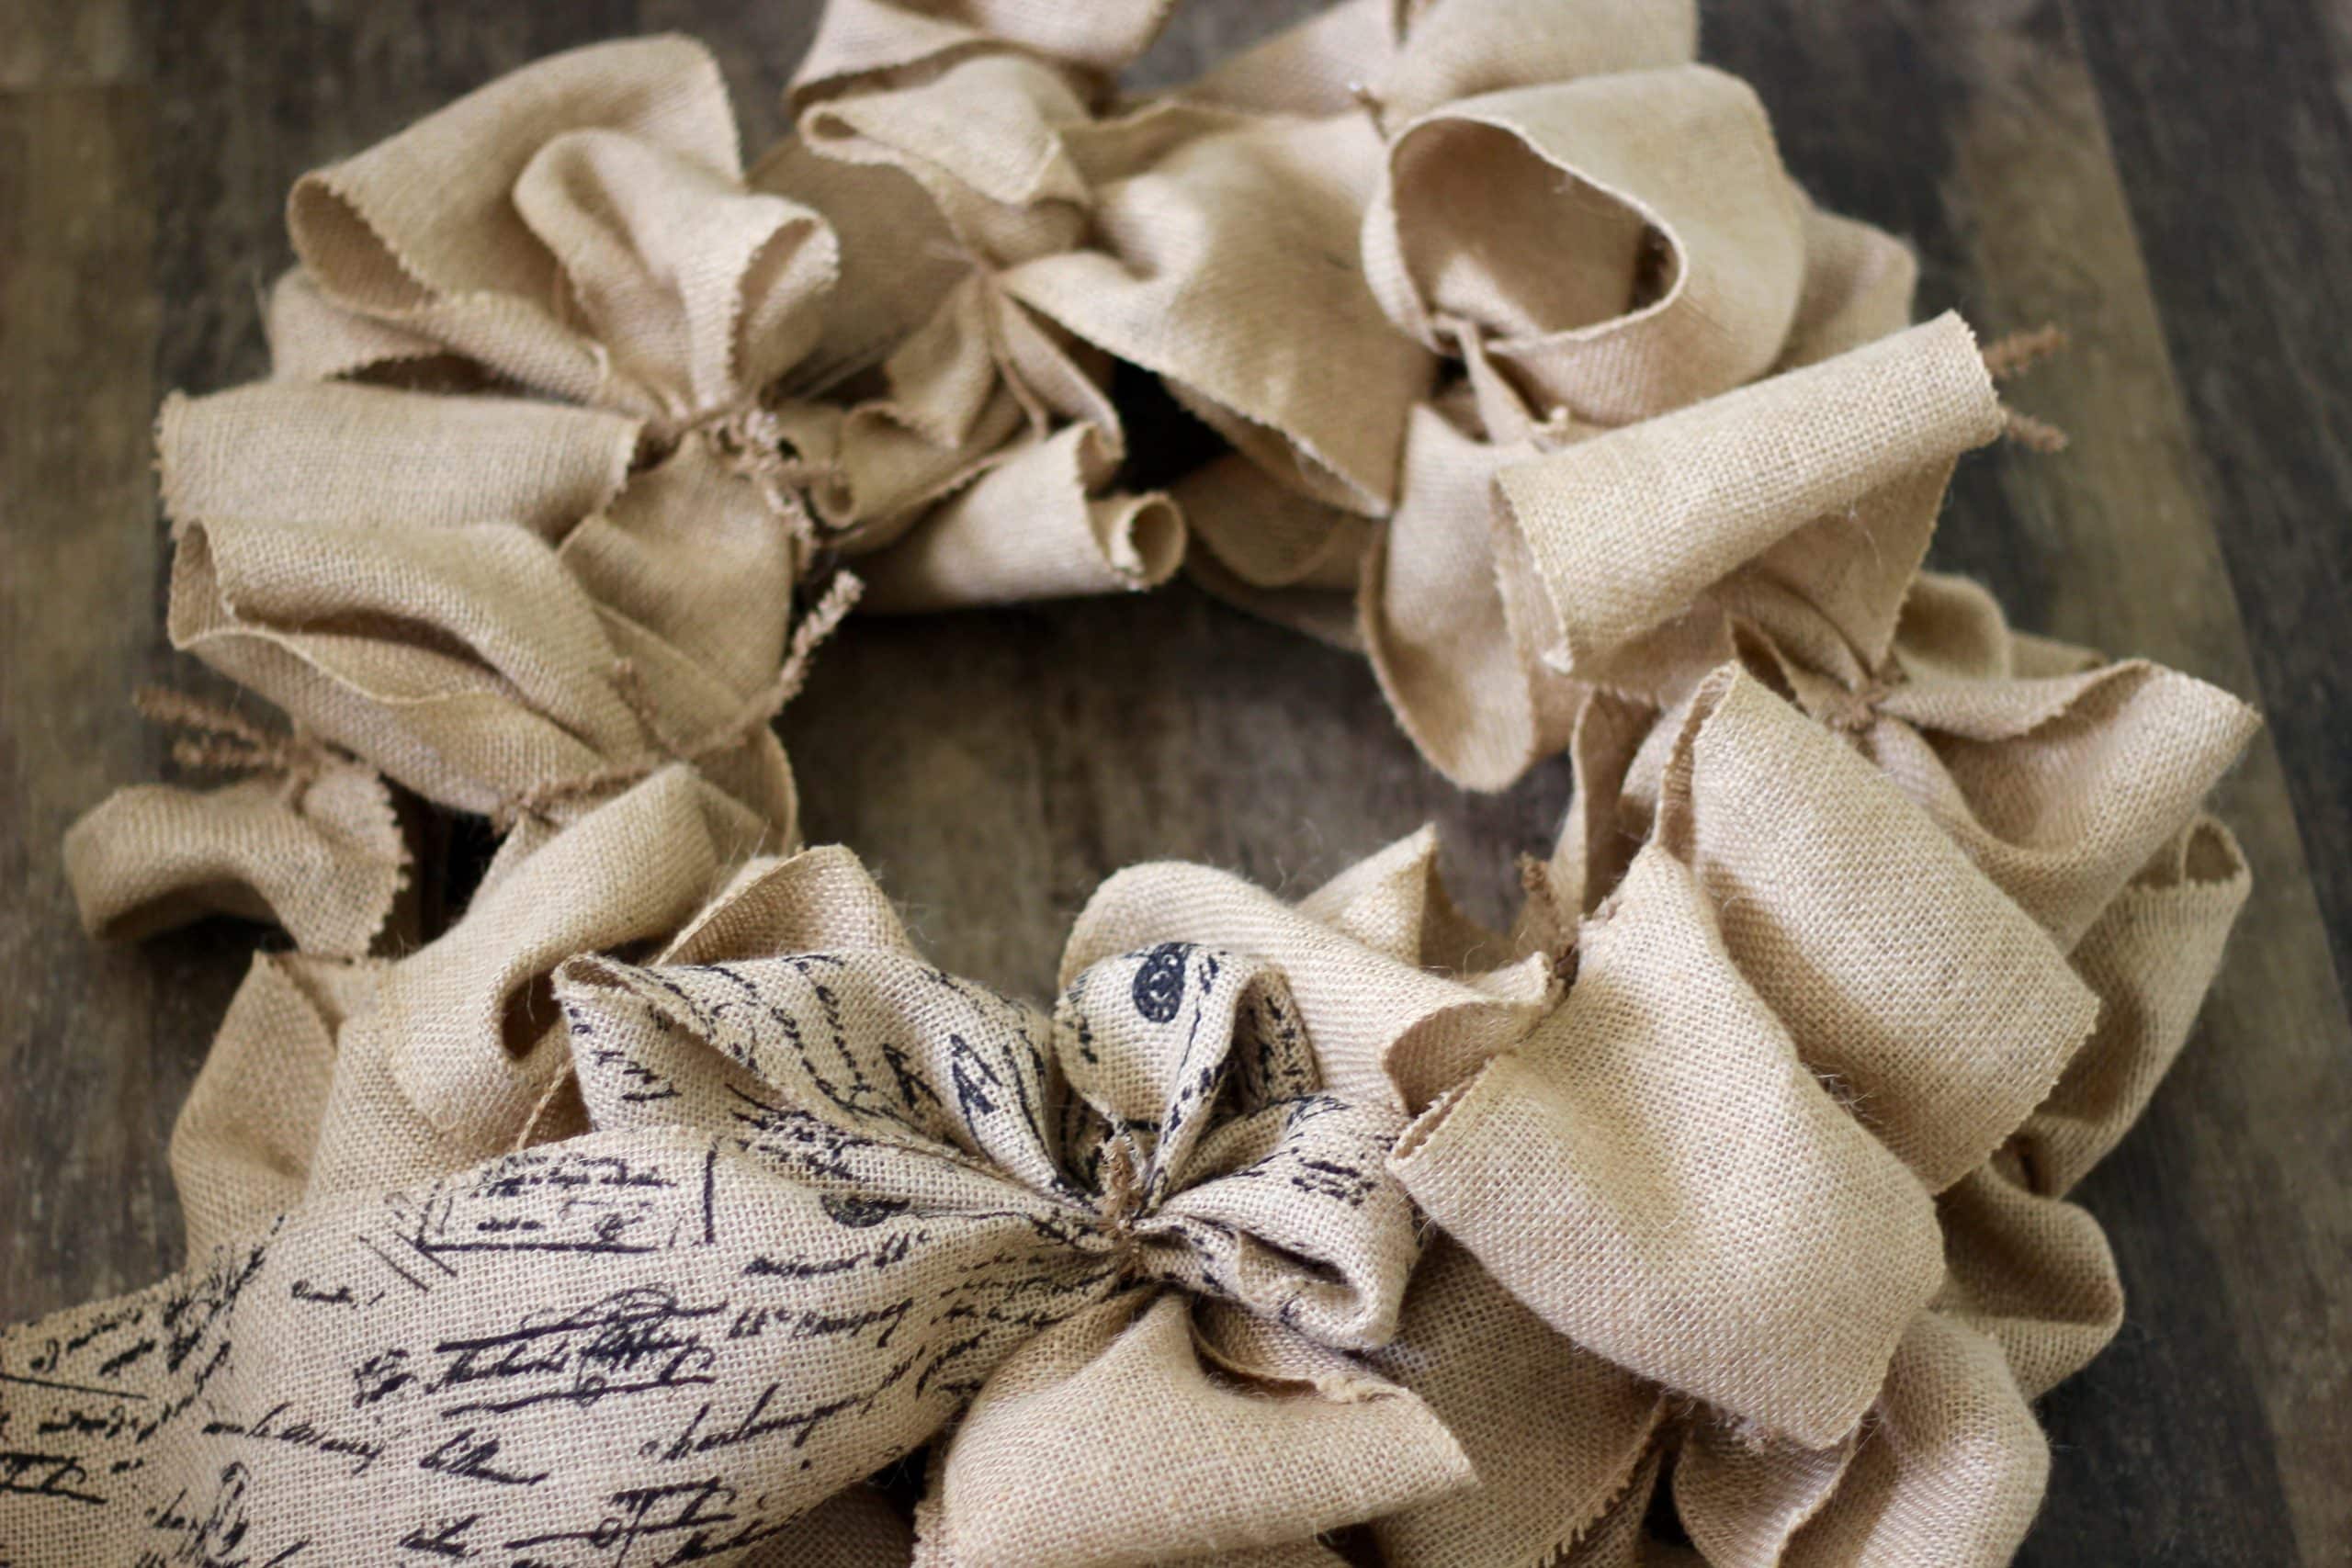
Step 3:
Next, begin to work with your printed burlap.
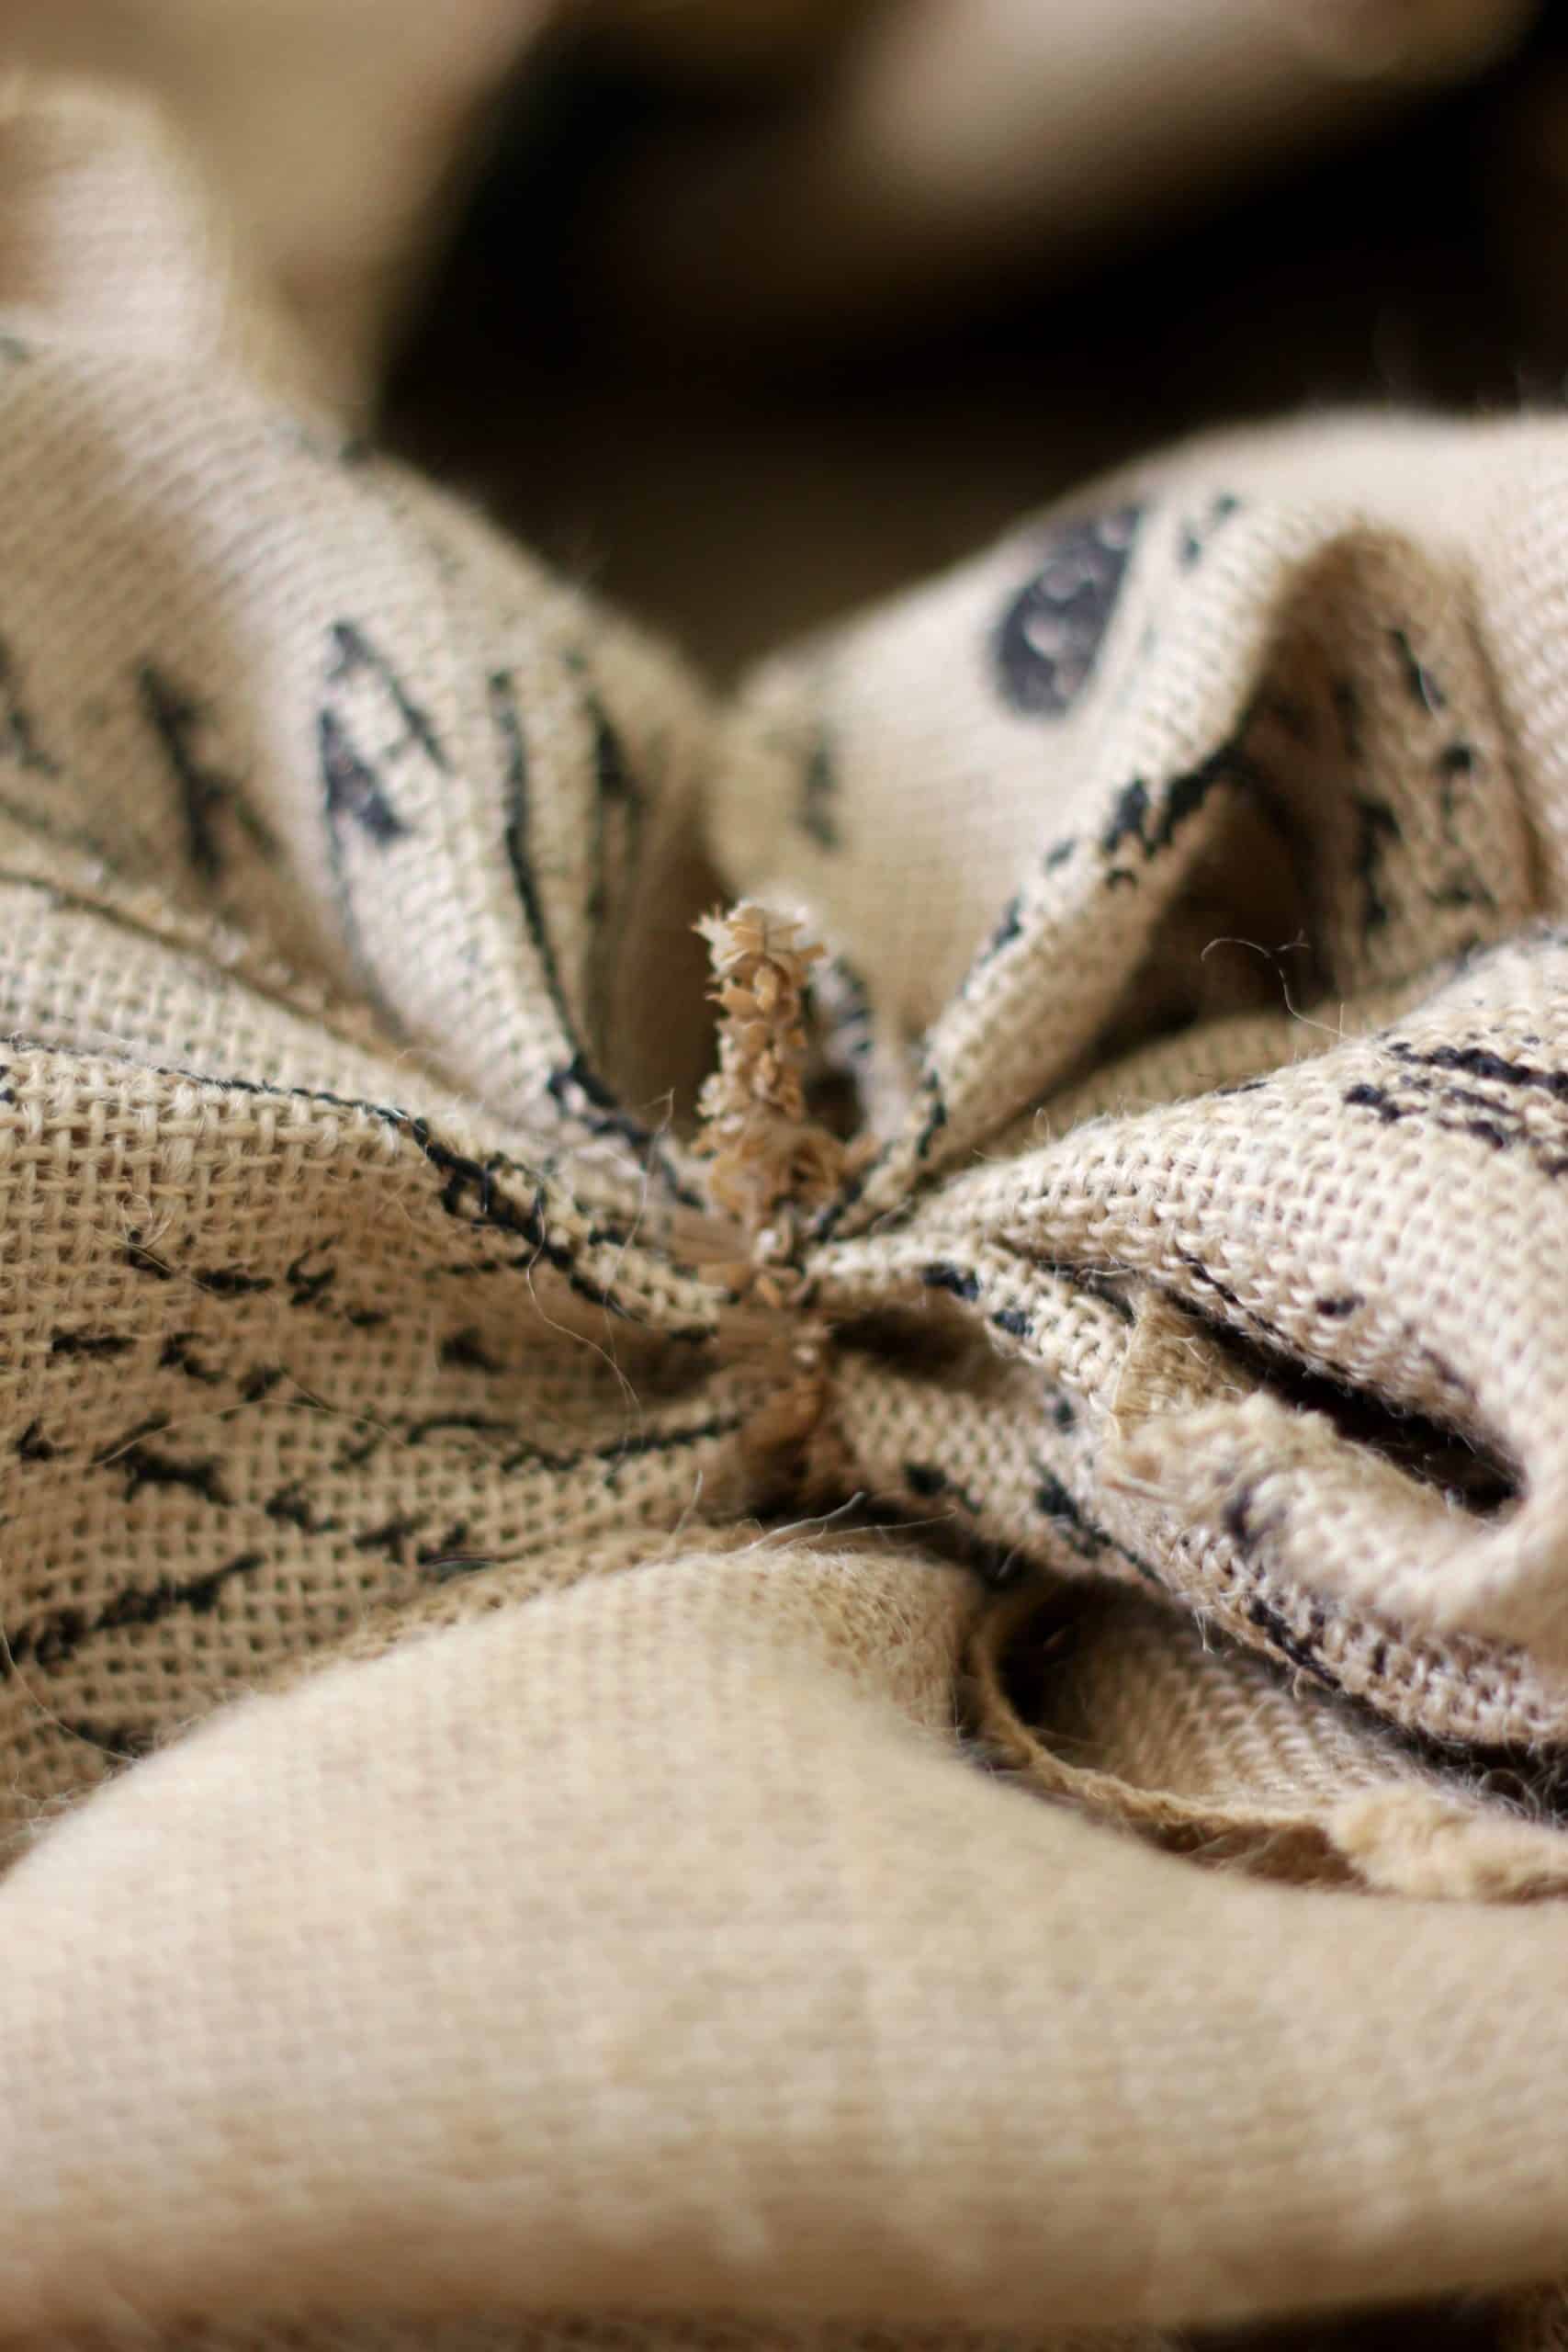
Create a two-loop bow with the printed burlap and lay it on the wreath on the outer layer of the form over a wire stem (but between the outer and inner layers of the plain burlap).
Use a Twist tie to secure the bow in place. The wire stem will be taut, and only a small area will show on top.
Continue around your wreath until you have finished layering the printed burlap between the plain burlap.
Finally, fluff it out with your fingers to hide any of the twist ties, and you are done!
Other Great DIY Projects
This post was originally published on October 19, 2015. We updated it with enhanced instructions on August 5, 2020.
Who has time for complicated, lengthy projects? This one looks great year-round or dressed up for the holidays.
You may also like this DIY Wood Sign.


I want to make the burlap weath however I’m not sure how it is put on the ring. I wish there was a viedo for this DIY
This was one of my first posts, so there isn’t a video available. Sorry! I tied the burlap on the ring with the twist ties. Since the burlap is so think, it’s very forgiving. Once you get it all on the ring, you can spread it out so none of the metal ring is showing.
I love this wreath, I’m a sucker for burlap. Layering the plain and printed burlap garlands all the way around makes it look so classy and just, right.
Erin, this is right up my alley. Our home is more modern, clean, but I love to decorate with rustic pieces and burlap. I wondered how to create a gorgeous wreath from burlap material, and this is the perfect tutorial! Stumbled so others can see this, I absolutely love it!!!!!!!!
Thanks for taking the time to read the tutorial as well as share it! It was easy, so you could definitely make one in no time at all!
I am so loving this wreath! Very pretty! I loved this that much that I have chosen it as one of my 3 favorites and featured it at my next DIY Crush Craft Party (starts at 7pm EST, Thursdays). Please come over and see it and post your latest projects!
Yay! I’m glad you like it! Thanks for featuring it, Denise. See you at the DIY Crush Party!
Yes indeed easy peasy. During this hectic time of the year we can all use easy decorations that look great to dress up the house.
Exactly! Who has time for complicated, lengthy projects? This one looks great year round or dressed up for the holidays.
You make it look so easy that I could even do this, and I’m not very crafty. It’s so pretty and I love the items you styled it with. Thanks for linking up to the inaugural “Inspired by You” link party!
You could definitely do this 🙂 Thanks for taking a look and I’ll see you at the next “Inspired by You” party! Cheers!